In today’s digital world, website security is non-negotiable. Google actively penalizes unsecured websites, and visitors immediately distrust a site flagged as “Not Secure.” Moving your WordPress website from HTTP to HTTPS—using an SSL Certificate—is the single most important step you can take to build trust, protect your data, and significantly boost your search engine ranking.
At Get Fast Host, we believe every website deserves to be secure, which is why we offer a Free SSL Certificate with every hosting plan.
This ultimate guide walks you through the simple, step-by-step process of enabling your SSL via cPanel and ensuring your entire WordPress site runs over a secure HTTPS connection.
Pre-Flight Check: Before You Begin
Before making any major changes, even security improvements, always follow these critical steps:
- Choose Your Secure Home: If you don’t already have secure, fast web hosting in Nigeria that includes a Free SSL, start with our optimized WordPress Hosting Plans.
2. Backup Your Website: While this process is straightforward, always perform a full backup of your WordPress files and database. Our advanced hosting solutions with backups by JetBackup make this effortless, but ensure you have a recent restore point.
Step 1: Log in to Your Get Fast Host cPanel Account
The entire process begins in your control panel.
- Log in to your Get Fast Host client area.
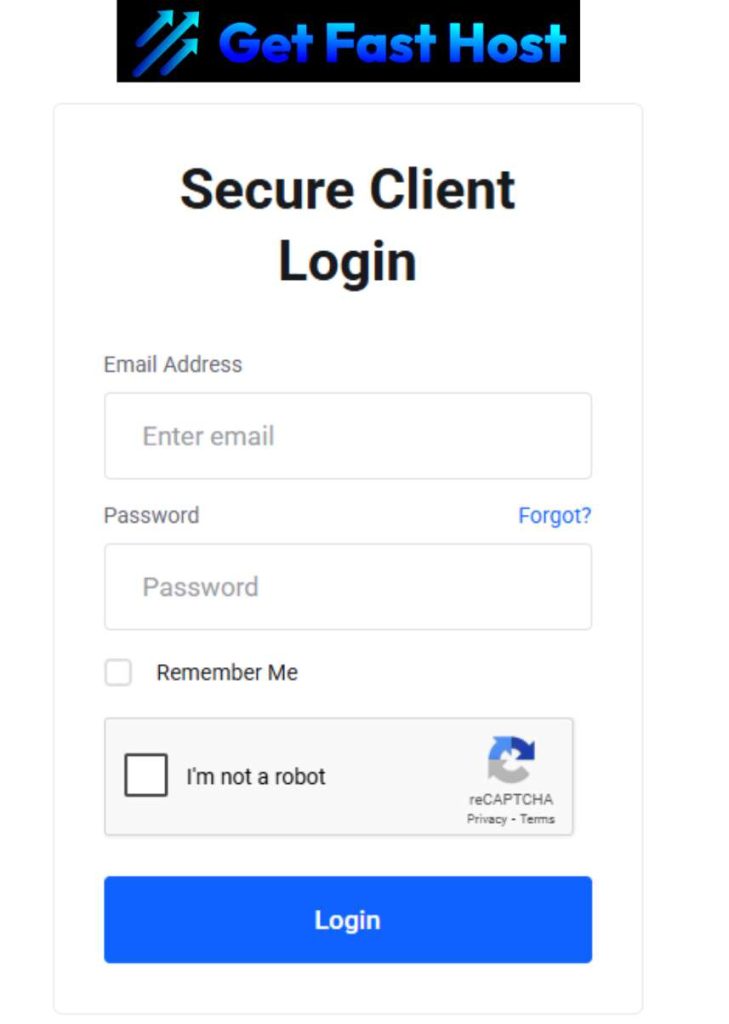
2. Navigate to your hosting services and click the link to open cPanel.
cPanel is the industry-leading control panel we provide to manage your website, files, databases, and, most importantly, security settings.
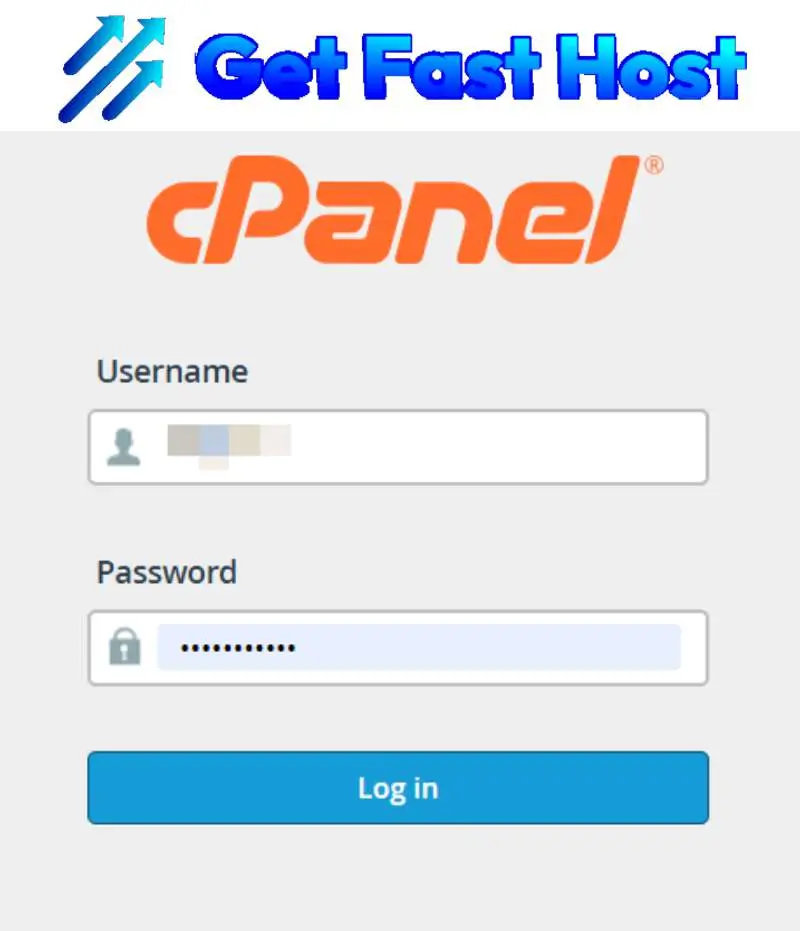
You can also login to your cPanel directly from the credentials sent to your email when you purchase any of our hosting package. If you wan to use the cpanel directly, follow the below process:
Steps to enable SSL/HTTPS in WordPress in cPanel
- Access your hosting account dashboard.
2. Open cPanel, the control panel provided by most web hosts.
Step 2: Confirm Your Free SSL Certificate is Active
We use AutoSSL to automatically install a free and valid SSL certificate on all new domains and subdomains hosted with us. You just need to verify it.
- Click on SSL/TLS Status.
2. In the cPanel dashboard, locate the Security section.
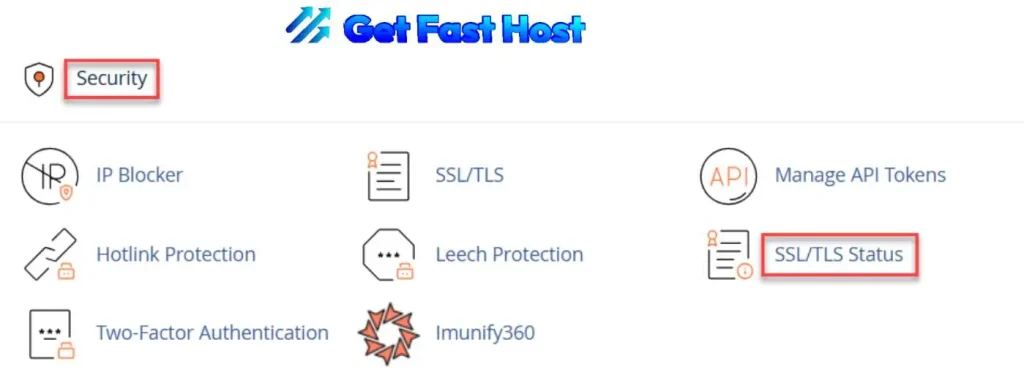
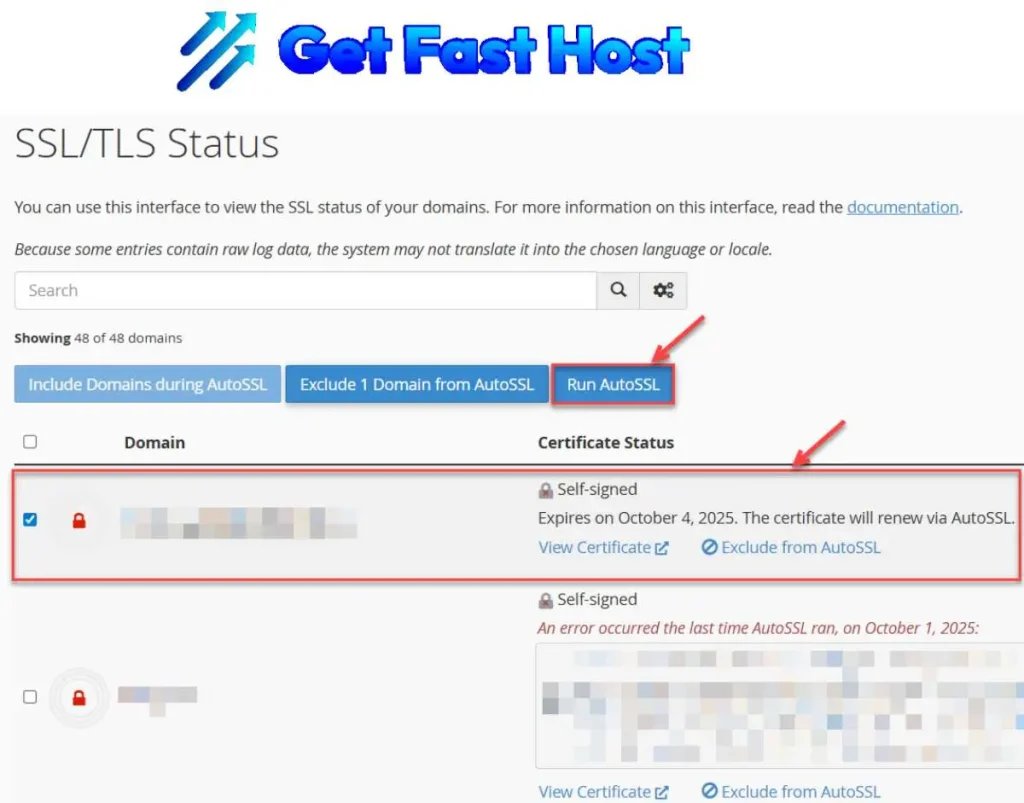
3. Here, you will see a list of your domains. Look for the padlock icon next to your primary domain.
4. If the status is green, your certificate is active and valid (great job!). If it’s red or yellow, select the domain(s) and click the “Run AutoSSL” button to force a renewal/installation. Wait a few minutes for this process to complete.
Step 3: Update Your WordPress URLs to Use HTTPS
Now that your server is ready, you need to tell WordPress to start serving the site securely.
- Log in to your WordPress dashboard (
yourdomain.com/wp-admin). - Go to Settings -> General.
- In both the WordPress Address (URL) and Site Address (URL) fields, change
http://tohttps://.- Example: Change
http://yourdomain.comtohttps://yourdomain.com.
- Example: Change
- Scroll to the bottom and click Save Changes.
Note: This action will log you out and require you to log back in with the new secure URL.
Step 4: Ensure Full HTTPS Redirection (Fixing Mixed Content)
This is the most crucial step for maintaining a perfect security score. When your site runs on HTTPS but still loads some assets (like images, CSS, or scripts) from an old HTTP link, you get a “Mixed Content” warning, and the padlock icon will disappear. You need to force all traffic to HTTPS.
Option A: The Easiest Way (Recommended for Beginners)
Install and activate a plugin called Really Simple SSL.
- In your WordPress dashboard, go to Plugins -> Add New.
- Search for “Really Simple SSL”.
- Install and activate the plugin.
- The plugin will immediately detect your valid SSL certificate and give you the option to “Go ahead, activate SSL!” Click it.
This plugin handles all necessary redirects and database updates automatically, making it the fastest way to achieve 100% HTTPS.
Option B: Advanced Redirect via .htaccess
If you prefer a code-based solution, you can manually add a rule to your .htaccess file to permanently redirect all HTTP traffic to HTTPS.
- In cPanel, go to File Manager.
- Locate the
public_htmldirectory for your domain. - Find the
.htaccessfile, right-click, and select Edit. - Add the following code snippet after the
RewriteEngine Online:
# BEGIN Get Fast Host SSL Enforce
<IfModule mod_rewrite.c>
RewriteEngine On
RewriteCond %{HTTPS} off
RewriteRule ^(.*)$ https://%{HTTP_HOST}%{REQUEST_URI} [L,R=301]
</IfModule>
# END Get Fast Host SSL Enforce
5. Save the changes. This 301 redirect is permanent, helping your SEO by telling search engines that the new, secure location is the standard.
Step 5: Final Verification and Security Boost
- Check the Padlock: Open your website in a private or incognito browser window (to avoid caching issues). You should see a green, closed padlock icon in the browser address bar.
- Use an SSL Checker: Use an external tool like SSL Labs or Why No Padlock? to scan your site and confirm there are no mixed content warnings.
- Clear Caches: Clear all caches, including your WordPress caching plugin (e.g., LiteSpeed Cache), and your browser cache. Our Get Fast Host servers use LiteSpeed technology, which ensures your newly secured site loads with blazing-fast speed.
Conclusion: A Secure Site is a Successful Site
Congratulations! Your WordPress website is now fully secured with HTTPS, protected by a Free SSL Certificate from Get Fast Host.
By following these steps, you’ve not only safeguarded your visitors’ data but also positioned your website for better SEO performance on Google. We are committed to providing you with the best combination of security, reliability, and lightning-fast web hosting in Nigeria.
Ready to experience a truly optimized and secure online presence?
🔐 Start Securely Today: Explore our powerful Shared Hosting or WordPress Hosting plans, and don’t forget to register your next domain with the cheapest domain registration in Nigeria right here at Get Fast Host!